Class Description
_________________________________________
Class Description
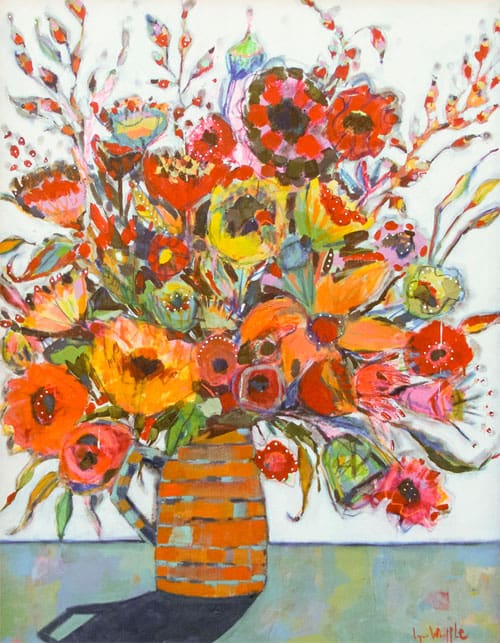
Paint Big! Paint Vibrantly! Paint Loose! Paint Blooms!
Are you ready to work large and loose with lots freedom and color?? I’m thrilled to share with you a playful, layered approach to painting and drawing that embraces your wild side!
Using acrylic paint, charcoal and colorful chalk pastel, I will walk you through exercises, methods and techniques that will allow you to push your work towards abstraction. We will explore together a fresh, painterly interpretation of a traditional subject matter… FLOWERS!
We’ll begin our Big Bold Bloom Wild Painting journey on 11″x14″ paper with an exercise called “Mark-Making to Music.” These timed, pastel floral drawings will encourage loose-line work, energized shapes, bold marks, unexpected color combinations and fun and freedom!
Next we will take the energy of our pastel drawings and scale it up! Working on three 24″x30″ canvases we will prepare each canvas with a different ground color, then add a very special charcoal technique, followed by a loose and greyed-down under painting. Now, more paint! More mark making! More color! Each layer leads to the next as we create our Big Bold Bloom Wild Paintings!
LETS GO BIG!!! Using the best of our previous work as guide and inspiration, we’ll work BIG and BOLD on one large 36″x48″ canvas. Lots of painting and dancing with color, layering, drawing, designing, spinning the canvas, energized mark making, composition and more! I can’t wait!!!!
Class Itinerary
Lesson 1 – Mark Making to Music
Working with pastel on paper 11″x14″ paper, you will turn your studio into a blaze of mark making and vibrant color! Using timed drawing exercises, you will translate flowers into simple, energized, abstracted shapes and planes, while exploring the different ways to describe and design vibrant blooms. Next you will create your first flower arrangement with your fresh and free floral drawings.
Lesson 2 – Growing Flowers. Working larger, working layers
Moving to 24″x30″ canvas, we’ll begin by preparing each of our three canvases with a different ground color: One orange, one medium blue gray and one thickly painted with gesso. Then we ‘ll do a 3-part “spin-drawing” on each canvas with charcoal, using flowers as our muse. A final criss-cross pattern on top will set us up for our next layer of paint. Very exciting!
Lesson 3 – Painting in neutrals. Finding design
We’ll look for all of the abstracted shapes that came from our floral charcoal “spin-drawings” and fill our canvas’s with blocks of neutral tones to create a lovely under-painting. These warm and cool colors, our grey blues and grey greens will set us up to show off our next layer of vibrant color. You will fall in love with this layer!
Lesson 4 – Painting Flowers from Life
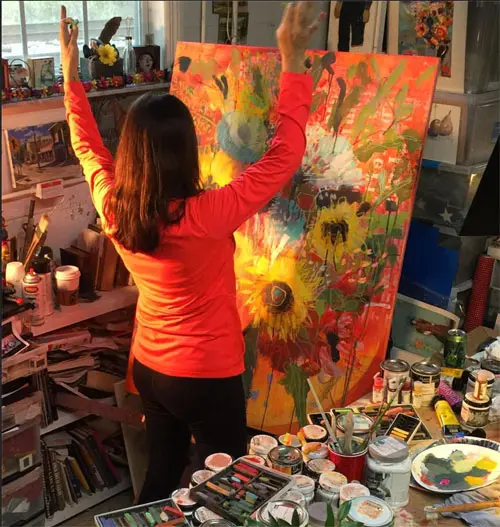
Fill your studio with a big, fresh, new batch of blooms! Enjoy choosing the flowers that you like best! Go for a variety of colors, shapes, sizes with a nice mix of leafy greens (darks) mixed in. Create a large wild bouquet that makes you happy! (You might add a few sunflowers into your bouquet as they are super fun to draw and paint.) Then look for the perfect place on your canvas to lay down your “hero” floral drawing on top of your under painting. Using a light source on one side will help you see the forms of the flowers. Draw your flowers in loose and free! Use both hands! Go back and forth from quiet, close looking to taking lots of liberties!
Lesson 5 – Cut in the background. Push and pull
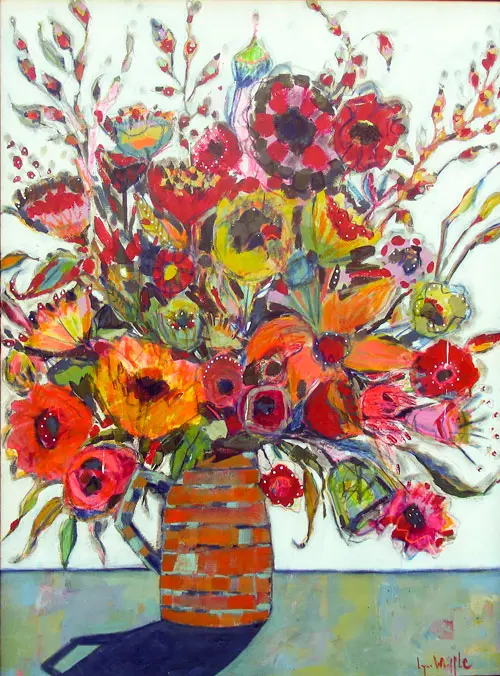
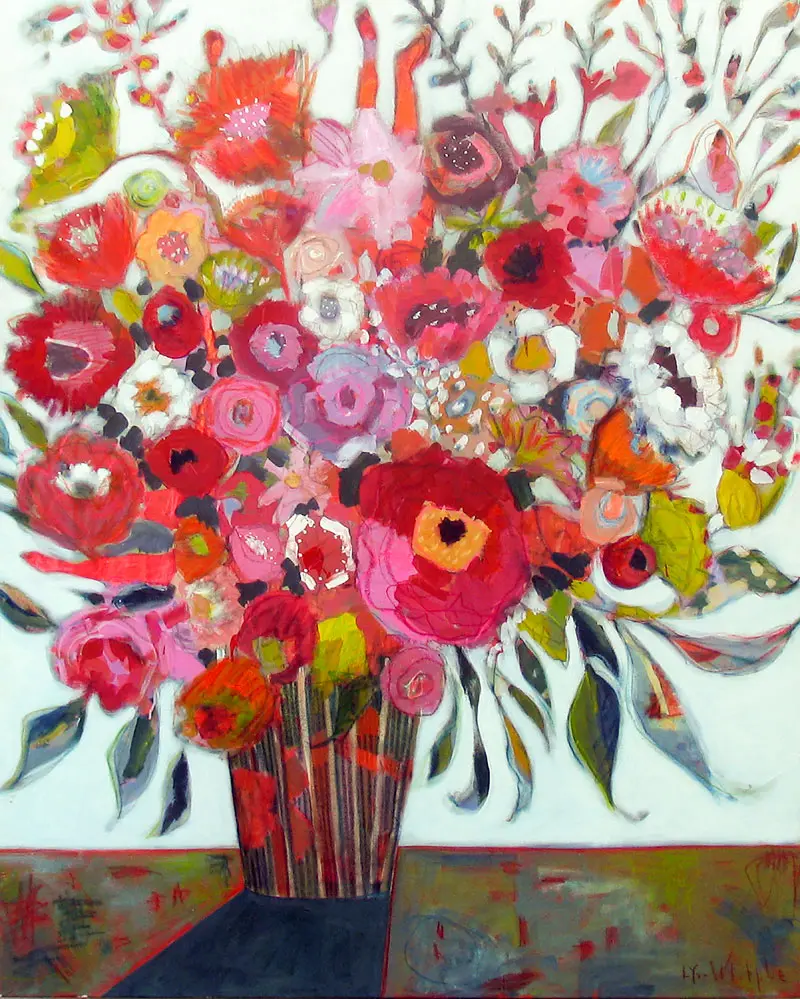
Now that we have our larger blooms in place, we’ll look again and begin to cut in around the flowers, bringing out the petal shapes, leaf shapes and more. This is a great exercise in “push and pull” which helps our painting have a forward “main event” and an understated background. We will work on the back layer (which helps describe the foreground) as well as the table top plane and the vase shape.
Lesson 6 – Energizing with Pastels!
OH so MUCH FUN!! Now our big pot of blooms is painted! Everything is falling into place. Bravo!! It’s time to draw on top! Use your fresh line work inside and outside of your painted shapes. Play with vibrating color on top of color. Use your brights to describe your highlights. Let your personality jump on to the canvas! Play!
Lesson 7 – Final Tweaks and Touches
We’ll back up and look over the entire painting now, squint, change small things, tweak the drawing on top, do another layer of paint on the background and smudge the edges of the drawing to give your flowers a halo effect. It’s time to add the extra highlights with cream paint that will really make your piece pop. Finally, you’ll sign your name in the perfect spot. A dusting of spray fixative over the entire painting will seal the pastel so it won’t smear.
Lesson 8 – Painting Big and Bold pt. 1
Now that we have done the entire process in a medium sized format, LETS GO BIG!! We’ll be working on one large canvas 36″x48″! (Go smaller if you prefer.) We begin by preparing the first layer of ground color. Choose your most successful of the smaller works as your guide. If you love the orange peeking through, start with orange, if you love the grey and the way it pops your top colors you will prepare your canvas with a grey background. Once that is dry, you will do your 3-part spin-drawing!! Add the extra 5-6 criss cross lines to help form your abstracted sections.
Lesson 9 – Painting Big and Bold pt. 2
Let’s lay in the color for our underpainting using the most successful of the earlier paintings. This will create an interesting layer that will help our final painting and create interest that we would not get otherwise. These under paintings are usually very fun to paint and very free! There is no wrong way!! Next lets spin the canvas as we look for the perfect place to draw in our final giant pot of blooms. Squint your eyes! Try not to center your pot of flowers, but sketch it in a little to the left or right. Take your time and enjoy looking deeply at the shapes. Now paint your flowers with the first pass of vibrant color. Play with drips, and darks! Let that dry and add another pass of color when you are ready! Dance! Have fun!
Lesson 10 – Painting Big and Bold pt. 3
As our layers are building, we will consider the best way to handle the background and the table top plane. Using our eye for the push and pull, this is a very exciting time to finalize your larger design. You may choose to leave more of your underpainting showing or to cover it up with a slightly more solid color, either light or dark. Once your background and floral layer are working, let’s add your colorful, loose pastel drawing and mark making! Tweak your final design by adding painted cream highlights, smudging your edges and finding a great spot for your signature. Behold!! Your Big Bold Beautiful Blooms!! Free, fresh and very YOU!!


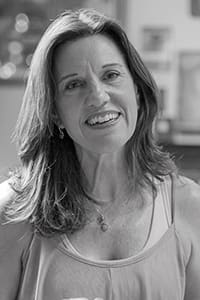
 Lynn Whipple