Class Description
Danish born artist and illustrator Henrik Drescher, has over 50 illustrated books to his name including The Boy Who Ate Around, a 1994 New York Times Best Illustrated Children’s Book. We are honored to host this class with him. He writes:
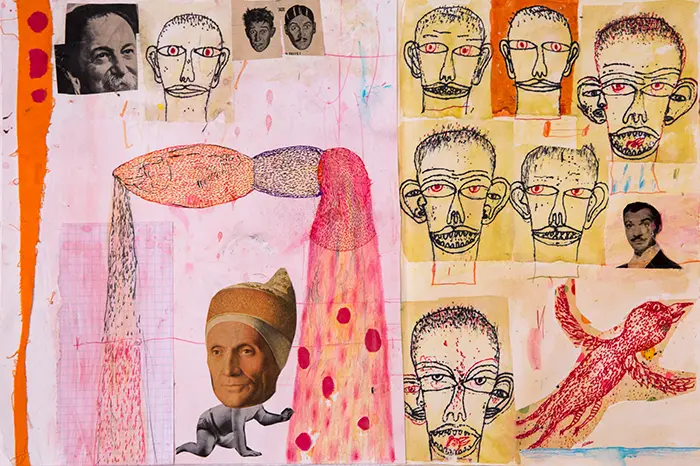
“Since an early age I’ve been an image scavenger. My mind has always been alert to image debris, keeping ideas and images in books, which then spill into my painting and illustration.”
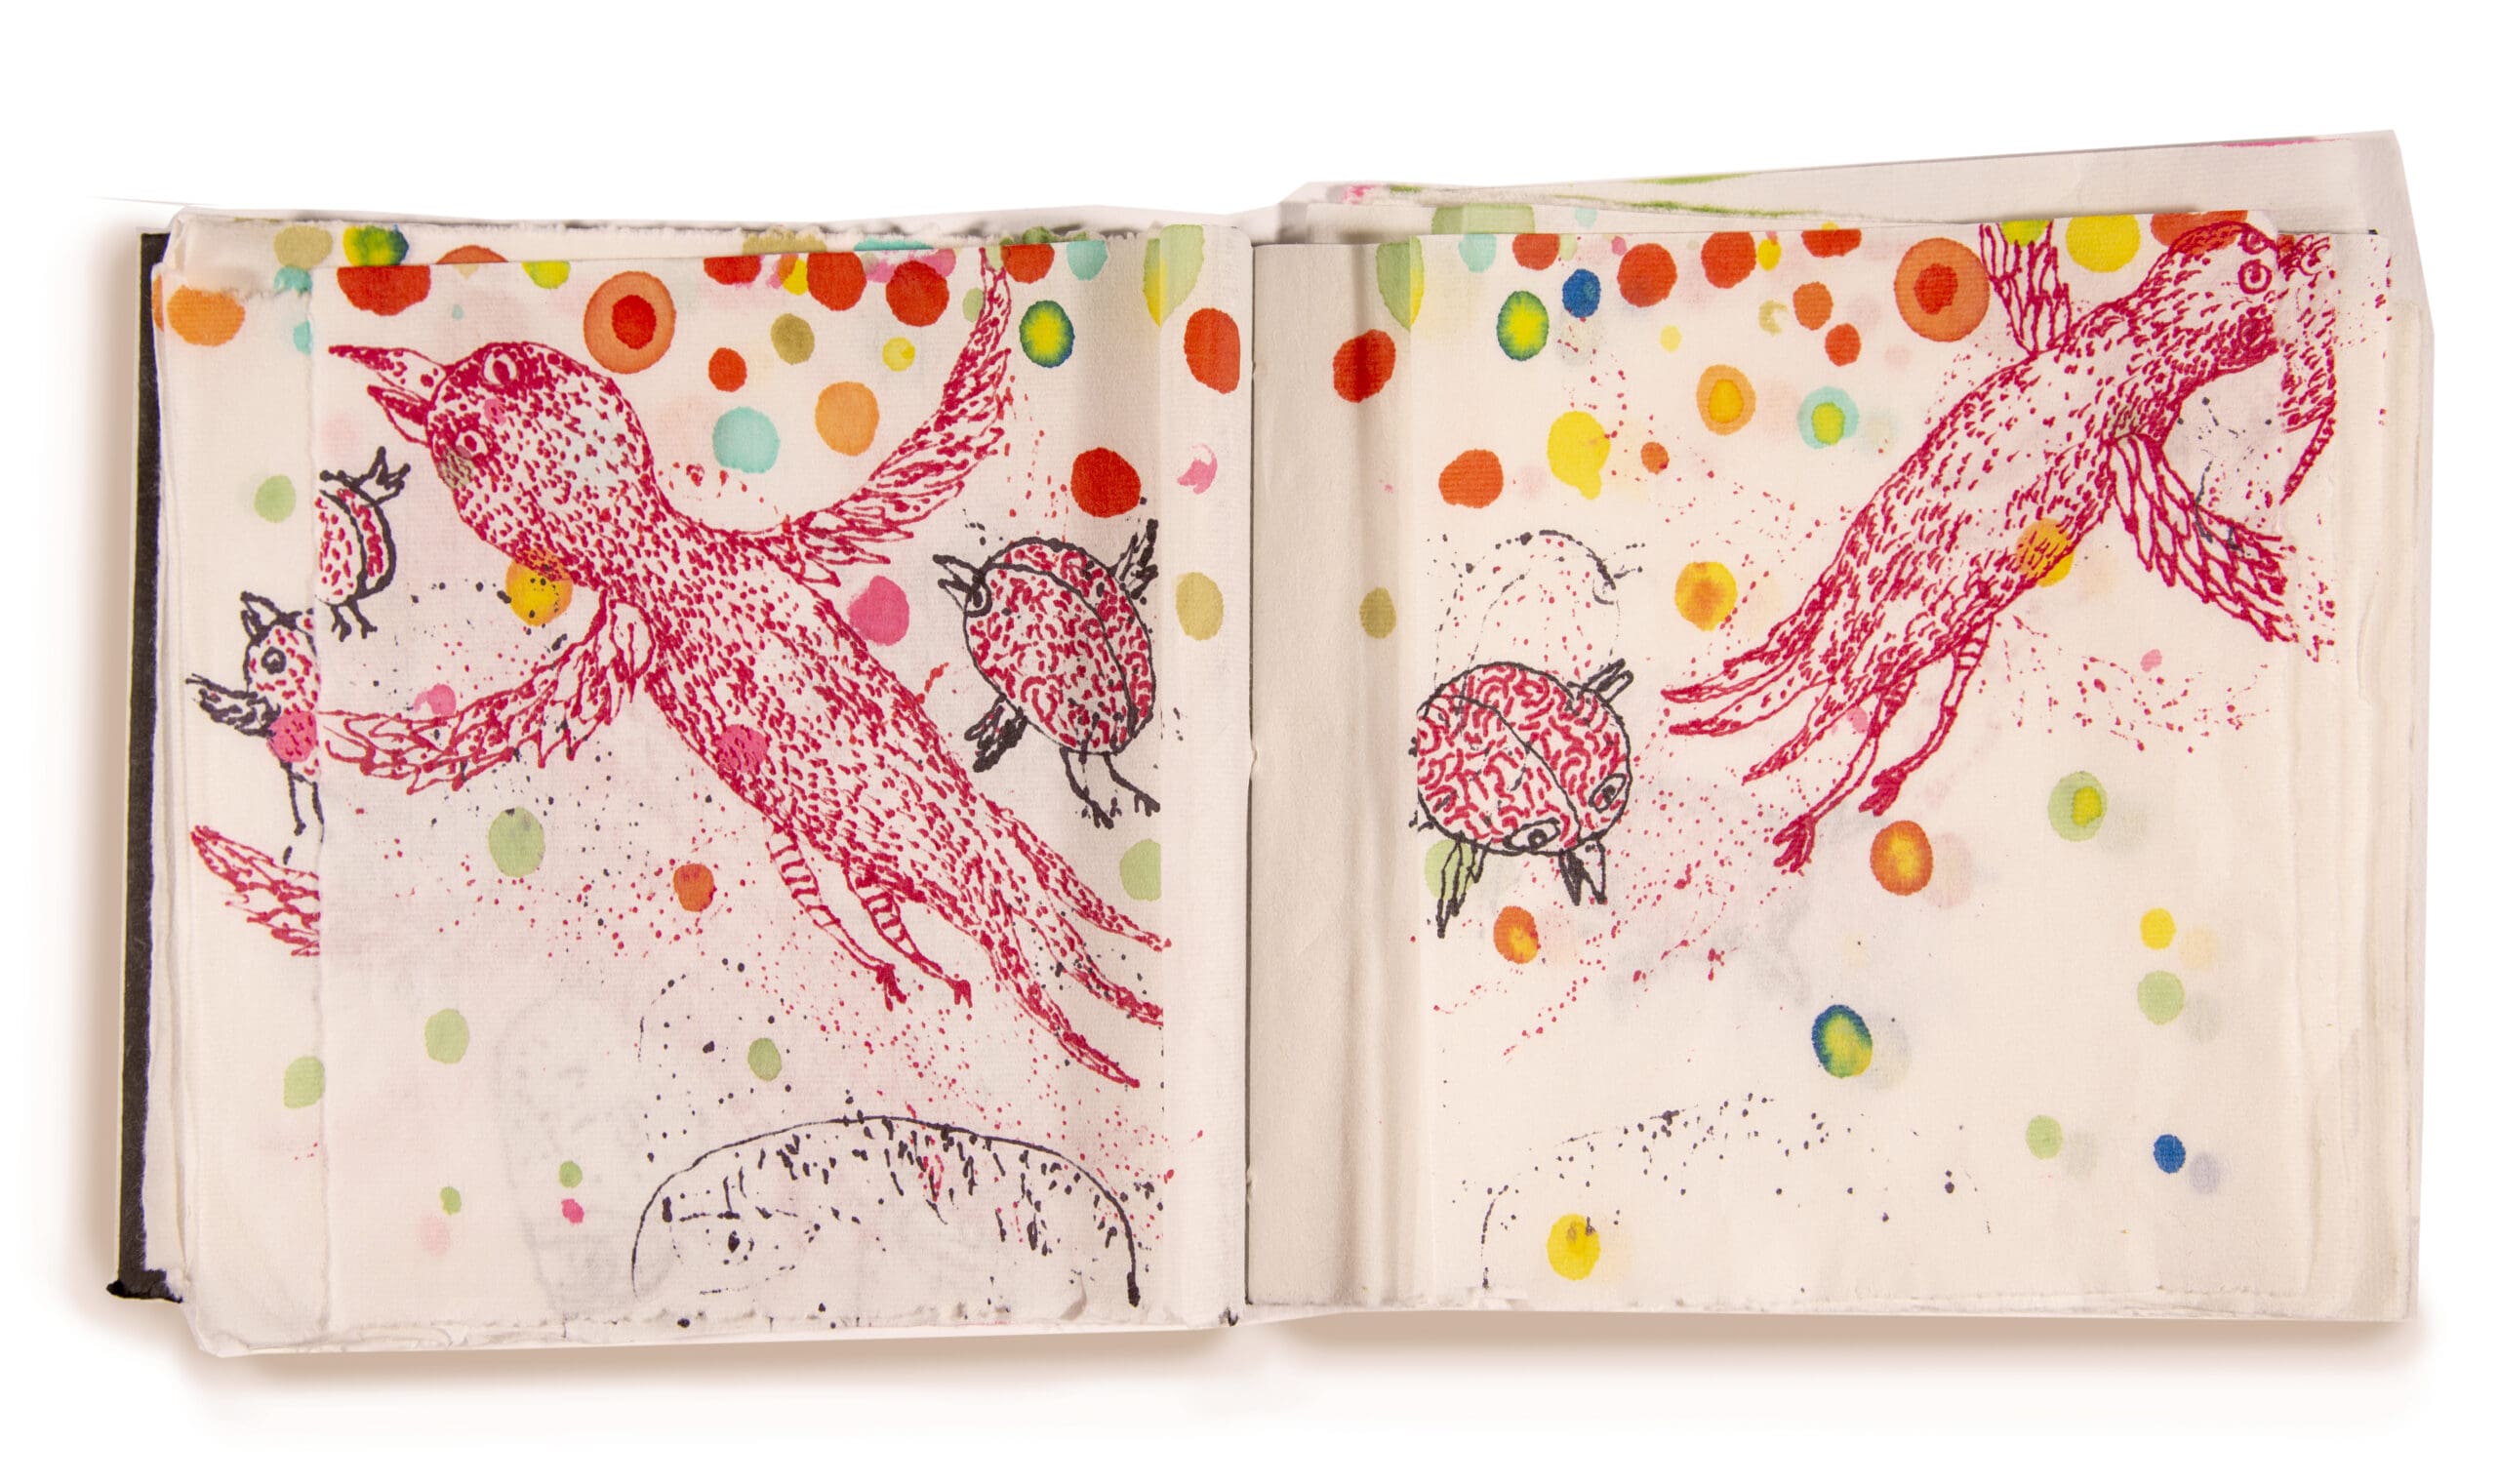
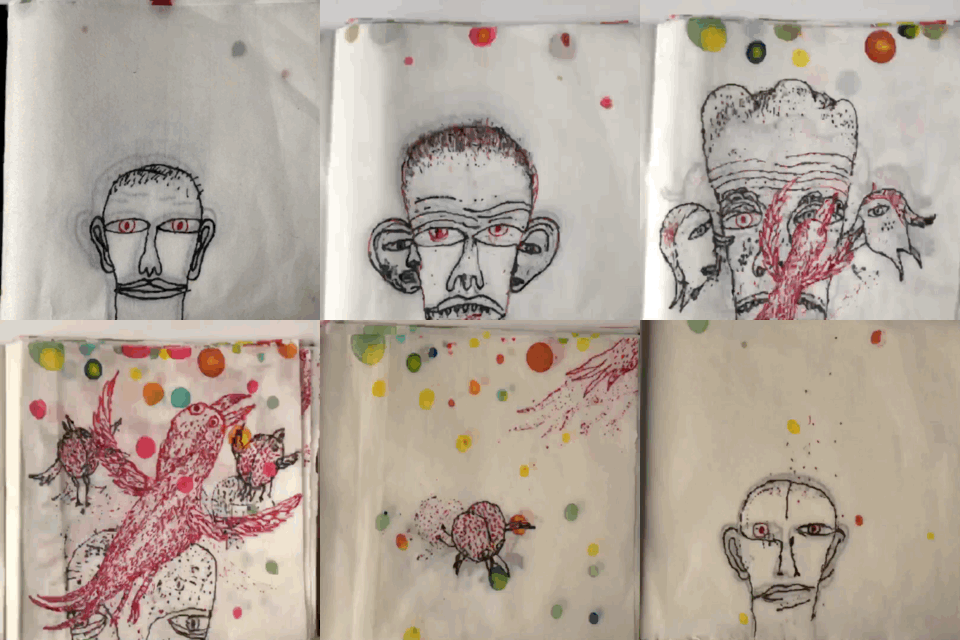
In this class we will work in a handmade rice paper notebook, and the drawings will ‘bleed through’ from one page to the next. Your challenge is to create an animation based on the bleed-through pages. This can be seen as a primal spontaneous animation class or a way to create a series of pages based on the idea of the bleed-through process. Once your book is filled and your animation made, you will cut up portions of your book to make a larger picture.
By the end of this class you will have….
A 20-PAGE BOOK….
AN ANIMATION…
AND A COLLAGE!
Class Itinerary
Week 1
Lesson 1 – Bind Your Notebook
You will learn to make a double-signature rice paper booklet, for this lesson you can start by making a 20-page booklet but for future books, this process can bind as many as 40 pages.
Lesson 2 – Start Drawing
Start your drawing, keep the first images simple; a head, a hand, a house…a slice of toast, whatever makes you happy, notice the bleed-through marks on the following page, use the bleed-through to start your next drawing, slightly changing it from the previous drawing… think of it as a frame in an animation sequence which is what it is.
Lesson 3 – Introduce Color
Continue the bleed-through process, but introduce color using alcohol-based markers, work with the colors as an abstract element in your Morpholio animation.
Week 2
Lesson 4 – Bring Story to a Close
Bring the story to a close. Trace the first drawing and draw the exact same drawing on your last page, then work the drawings towards the end page, morphing the shapes and color so it seamlessly blends into the final image. You can go back and ‘focus’ the earlier drawings at this point…use a piece of paper to block further bleed through though, work with the color, work with the line.
Lesson 5 – Animate!
This is where you animate the drawings in a low-tech way. Download the iOS or Android iMotion app (no need to purchase it). Use the ‘onion skin’ function to align your photos and export to your photo library. The format with be .gif which when uploaded to a web page runs like an endlessly cycling animation.
Lesson 6 – Picture-Making
Cut up (cannibalize) your book to make larger pictures, don’t be precious about your work… use it! Evolve/involve yourselves in the process of creating.
____________________________________________


