Translating Landscape

Class Includes Lifetime Access, Online Community, Instructor Interaction & More!

6 Lessons – $72

The landscape is a perfect way of exploring the elements that are integral to making meaningful work: line, value, color, shape, edges, composition. In this 6-lesson class we will work at finding our unique mark, learning and reinforcing design concepts and make some powerful paintings.

Now Available as a Self-Study Class

TEACHER: Anita Lehmann

Class Description


Translating Landscape
Instructor: Anita Lehmann
6 Lessons • $72

_______________________________________________________________________________________

Anita believes that the landscape is a gentle way of exploring the elements that are integral to making meaningful work: line, value, color, shape, edges, composition. She also believes that drawing connects us to our experience with an intimacy not otherwise possible. 
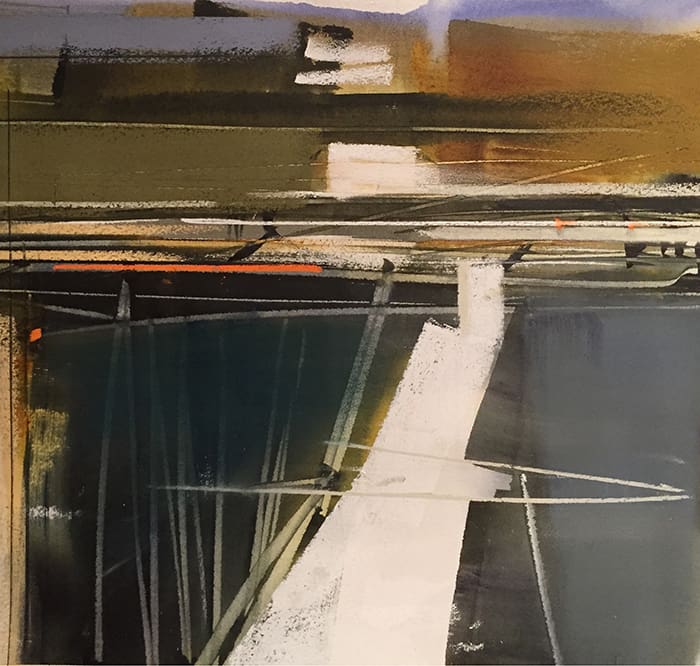
In this 6-lesson class we will use our study of landscape to work at finding our unique mark, learning and reinforcing design concepts, drawing with intent, and simplifying. 
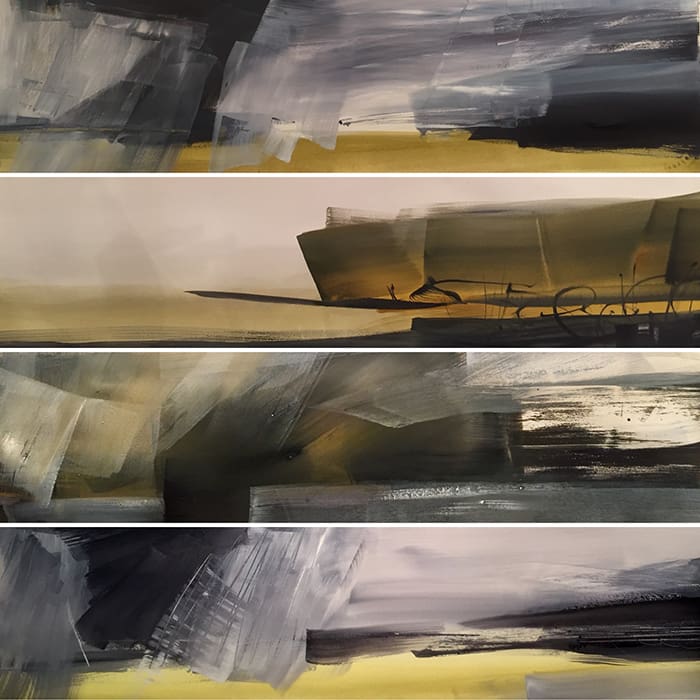
The joyful and fun exercises will include experimental mark making, design studies, grid paintings — all working up to larger paintings. We will work with an small “orchestra” of simple materials to help maintain a loose and more abstract mindset.
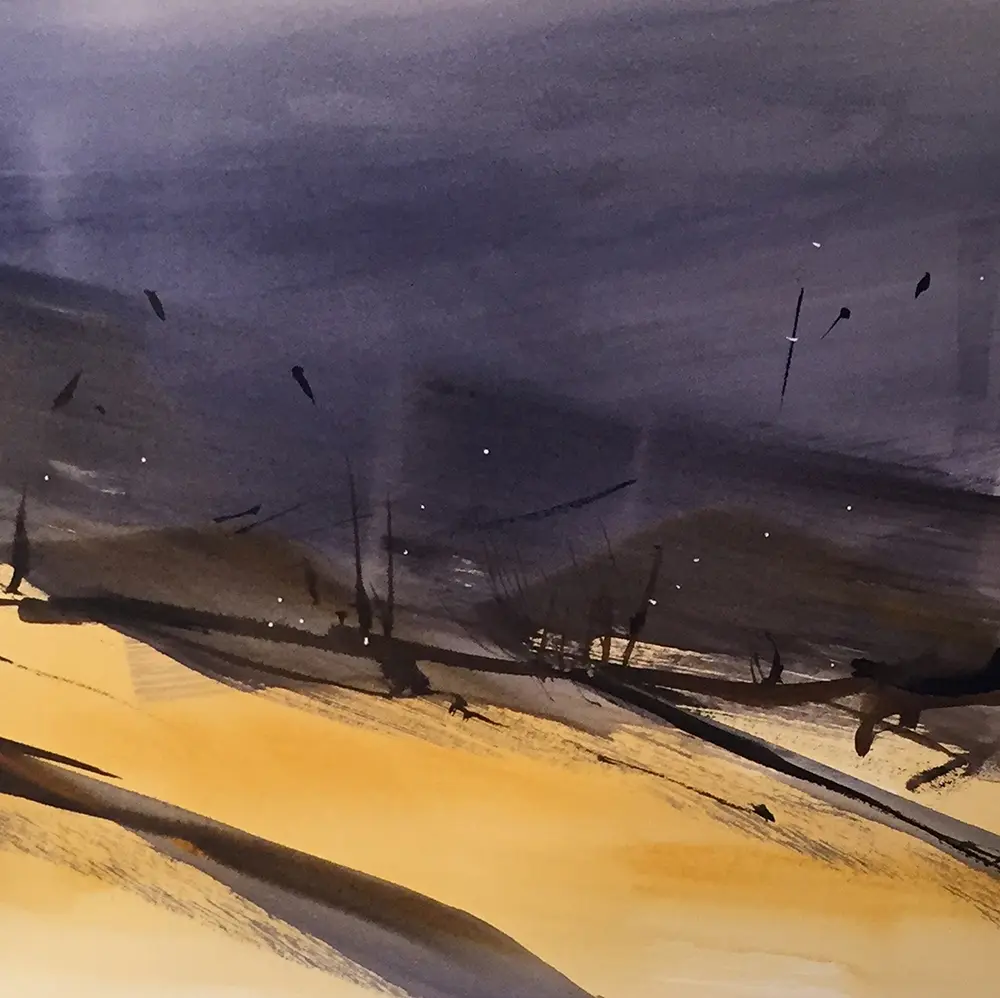
Are you ready for an adventure into the beautiful unknown?
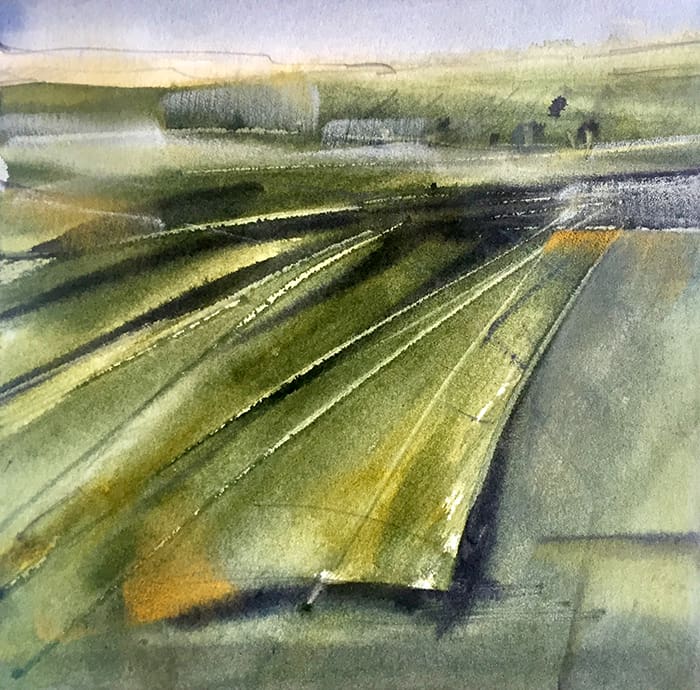
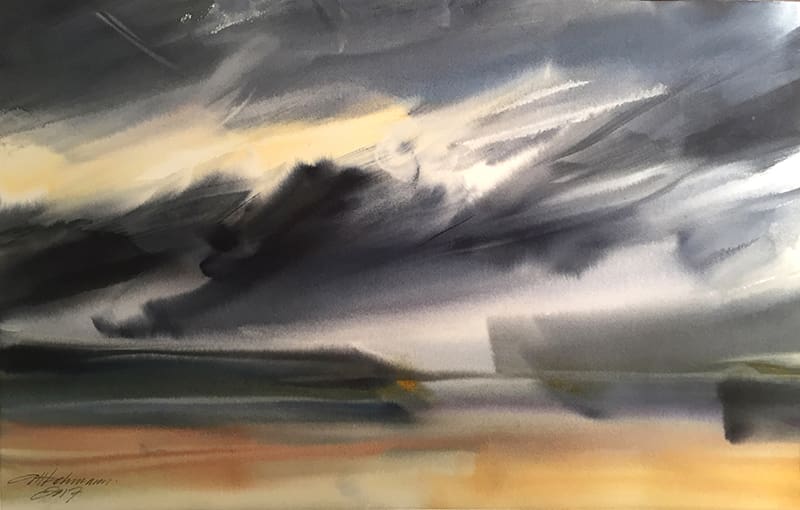
Class Itinerary

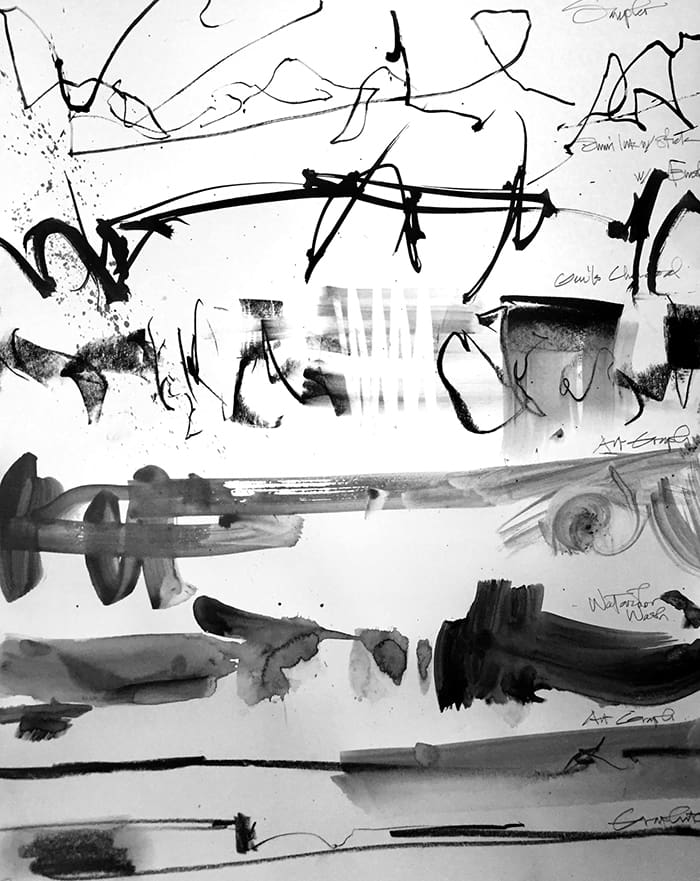
Lesson 1 – Your Mark: a Media Exploration
Let’s keep loose. Discover new marks and, more importantly, your mark. We will be using all the supplies listed, different papers and tools. We will respond and interact to music, perhaps draw with your non-dominate hand while keeping in the moment. Explore and see what happens. We will work within a ‘design field’ in which to play.
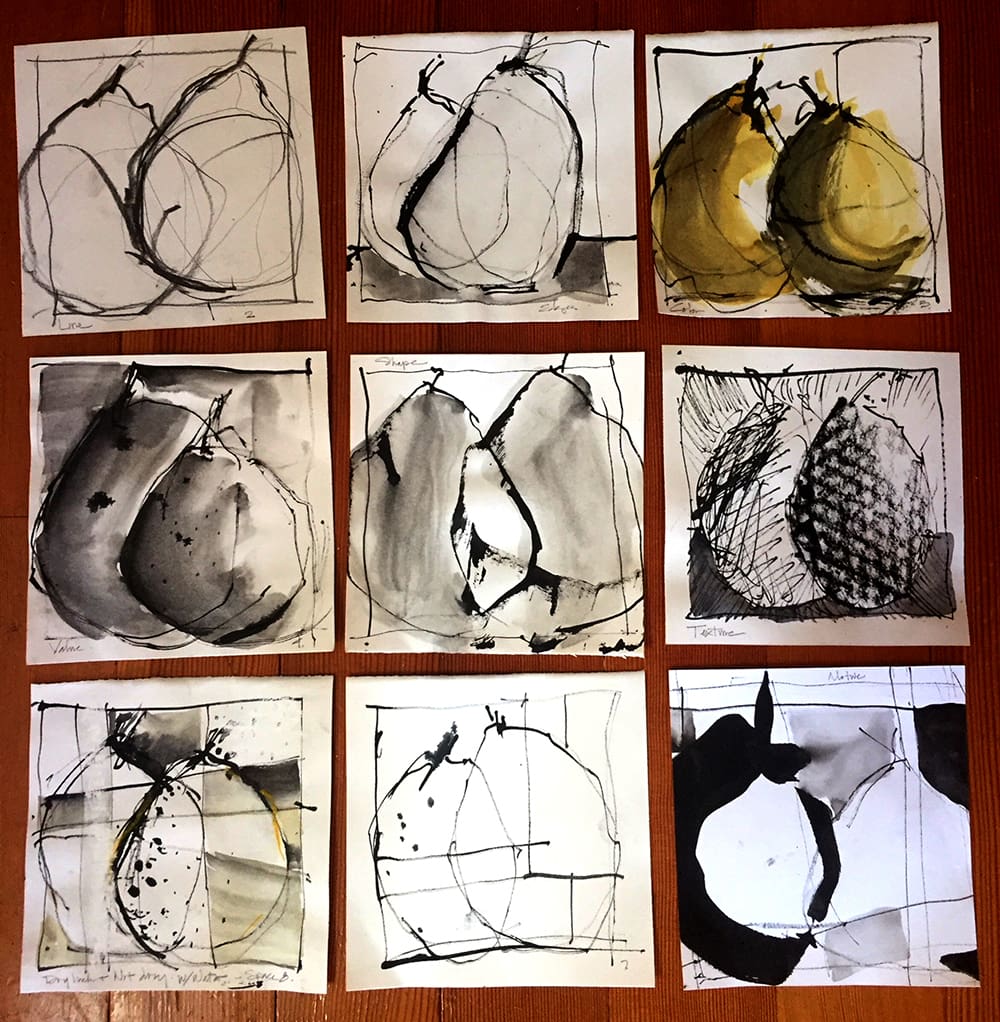
Lesson 2 – Design Elements and Motive: a Playing Field with Pears
Let’s continue our mark-making looseness as we learn about space: powerful notions of negative and positive space; key to beautiful and strong design within your art. We will become familiar with our ‘tool belt’ of design elements and create eight small “Pear Shape” studies and explore each of the following design concepts: Shape, Value, Space, Texture, Edges, Line, Composition, and Color.
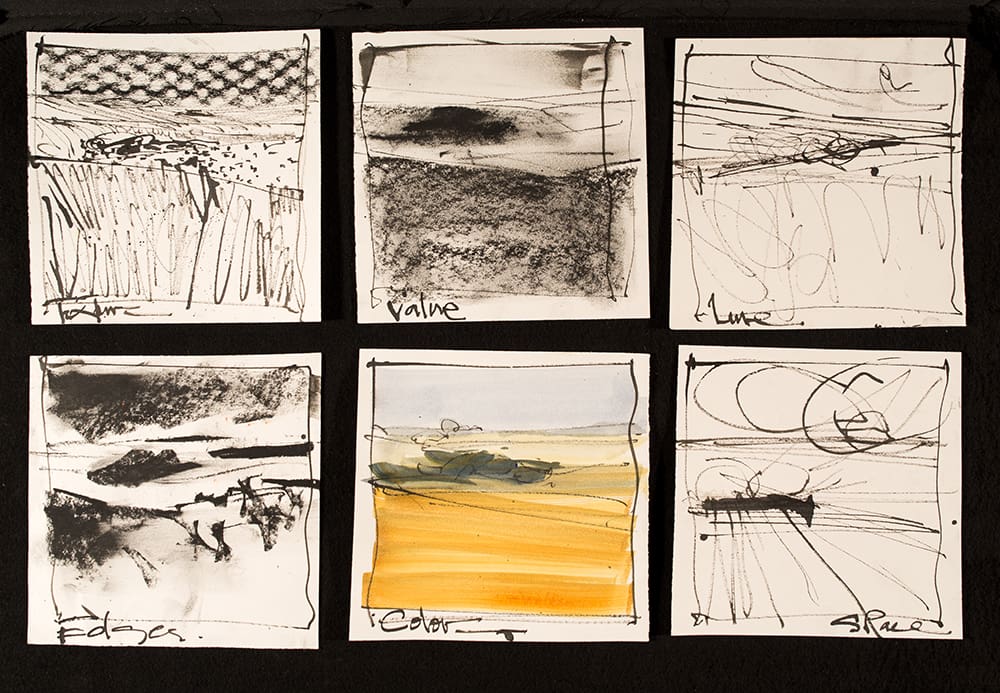
Lesson 3 – Design Elements and Motive: a Playing Field with Landscapes
In Lesson 3 we move from a simple shape (a Pear), to “Landscape Shapes.” The landscape may be slightly more complicated due to additional shapes to contend with. Again, we’ll create eight small studies with various media, each focusing on a Design Element. In our ninth study, we pull it all together into one piece.
Lesson 4 – Value + Space + Shape, all that, in Landscape
When I look at scene through a photograph or real life, I begin differentiating the 3 main layers of space with foreground, middle-ground, background shapes. We need to simplify this chaos (at times, chaotic) and begin to discern the beautiful shapes creating no more than 5-7 shapes. Keeping it simple is key today as we create several small paintings.

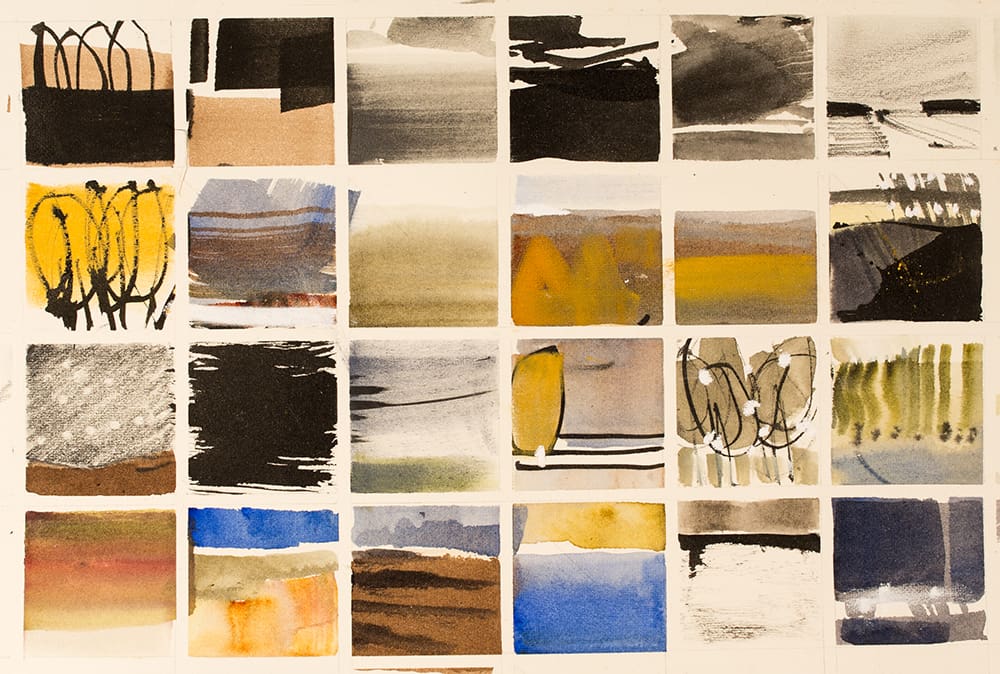
Lesson 5 – Driving Through Paintings
In this lesson we will “pack light” and continue to stay abstract as long as we can, thinking in terms of our design elements, drawing from memory and creating beautiful landscapes, simply, in a grid of up to 25 small squares. A fun, satisfying and surprising exercise!
Lesson 6 – Putting it All Together: Intentional Expressive Landscapes
In this final lesson we will be working incrementally to a larger format painting. We will progress from 6″x 6″ then 8″x 8″ and finally an 10″x 10″. Selecting an image from Lesson 5 squares, you’ll discover the obstacles and opportunities of working larger and therefore, as a result, becoming more intimate with your work. Enjoy the process, the rewards will be mighty fine.


Supplies

• A selection of medium-size drawing papers: bristol or equiv, Saunders +/or Fabriano Watercolor Paper 140# hot press + Arches cold press #140…. you will need the equivalent of about eight 9″x12″ sheets of paper.

• Assorted drawing and mark-making materials. These are some of the things that Anita will use, but you can substitute supplies with things you have on hand as well… you will just want a large variety of things to draw from:

  • Pencils: 3H, HB, 2B, 5B, different widths, sizes
  • Erasers: White Stadler Mars, Kneaded
  • Art Graf (Graphite in Tin)
  • Pens: marker type, or favorite fountain pen, one with permanent ink
  • Charcoal: Generals Compressed is best: 2b, 4b
  • Sticks (from trees)
  • Sumi Ink, Walnut Ink
  • Pastels: soft pastel (recommend pan pastels and sponge applicators)

• Watercolors

• Watercolor Brushes: #1 round, 2″ flat — not too small!

• Artist Tape, ‘Post it’ Tape or Masking Tape, and 1/8” wide skinny masking or artist tape for Lesson 5

• a few sheets of Tracing Paper

• Favorite landscape photographs, 2-3


Optional:

• framing L’s @ 12 x 16 cardboard

• Gator Board: (stiff) surface, 11″x 17″ – 18″x 24″

• Clips

• Baby Wipes

• Erasing Shield

__________

NOTE: Following are links to brands Anita likes and uses, though you are welcome to substitute your own supplies and brands:

Needle Point Brush #10
https://alvarocastagnet.net/shop/needle-point-brush-10/

Flat Angular Wash Brush
https://www.dickblick.com/items/06162-4112/

Diane Townsend Artist’s Pastels
http://www.townsendpastels.com/terrages-pastels/

Pan Pastel Sofft Tools:
https://www.dickblick.com/products/panpastel-sofft-tools/?clickTracking=true&wmcp=pla&wmcid=items&wmckw=21935-1000&gclid=CjwKCAiAiuTfBRAaEiwA4itUqAr-Gn1uXmZTYU4avC77GzFQa96__DVcHBznYMQlkK6kHAIu5rwbLBoCcawQAvD_BwE

Pan Pastels
https://www.dickblick.com/search/?q=pan%20pastels&unbxd_x=0&unbxd_y=0&unbxd_sp_cs=UTF-8&unbxd_s=unbxd

Fixative
https://www.dickblick.com/products/sennelier-latour-spray-fixative-for-pastels/

Anita Lehmann is a registered architect in the state of Washington. She is also a teacher and an artist. After receiving training at the University of Washington, she taught freehand drawing in Rome and in Seattle, and currently offers small group classes in drawing and painting. Her other skills include architectural design, graphic design, community planning and design illustration. Using figures as disparate as bugs and urban monuments, Anita has designed several series of alphabets, which have been acquired by the Smithsonian Institution. Prior to receiving the 2013 NAIUSI fellowship, Anita was a graduate student at the University of Washington Rome Center, in Rome, Italy in 1985. See more of her work at www.anitahlehmannartist.com.

Nuts & Bolts

– This class is now available as a self-study class.
– Immediately upon class signup, you will receive access to all of the class materials.
– You will have indefinite access to this class and each video is about 20-30 minutes.

“I have learned so much from your class! I will look at landscapes as “land shapes” forever now! ” — Jill K.
“Wonderful class! It was eye-opening and very "entertaining"!” — Suzanne O.
“Some of the best lessons I've ever had, and I mean that sincerely.” — Gail H.